


My constantly-sticky, always-making-a-mess toddler is enamored with anything that moves. Cars, trains, planes – if it zooms and goes vroom, then he loves it. I think adults are sort of like that too (and I’m not talking about the constantly sticky part). We’re drawn to things that are fast, flashy, and constantly moving. And when you think about how we’ve got the attention spans of goldfish, it’s not surprising that we’re easily distracted by speedy, shiny things. So what better way to reel in your readers than by including animations on your website? If that sounds appealing to you (and if you’re anything like either my son or a goldfish, I’m betting it does), then scroll down for an in-depth tutorial on how to create an animated blog header!
📖 RELATED POST: 4 Ways to Catch Your Reader’s Attention and Keep It
How to Create An Animated Blog Header
Step One: Open Your Blog Header in Photoshop CS6
Because I’m an old soul, I still use Photoshop CS6. I haven’t updated to any of the fancier, newer versions that Adobe’s been churning out. (Although I’ve been highly tempted; we all like speedy, shiny things, remember?) Because of this, I can’t be sure if the animation process will be exactly the same if you’re using Photoshop 2020 or the like, but it shouldn’t be that different either.
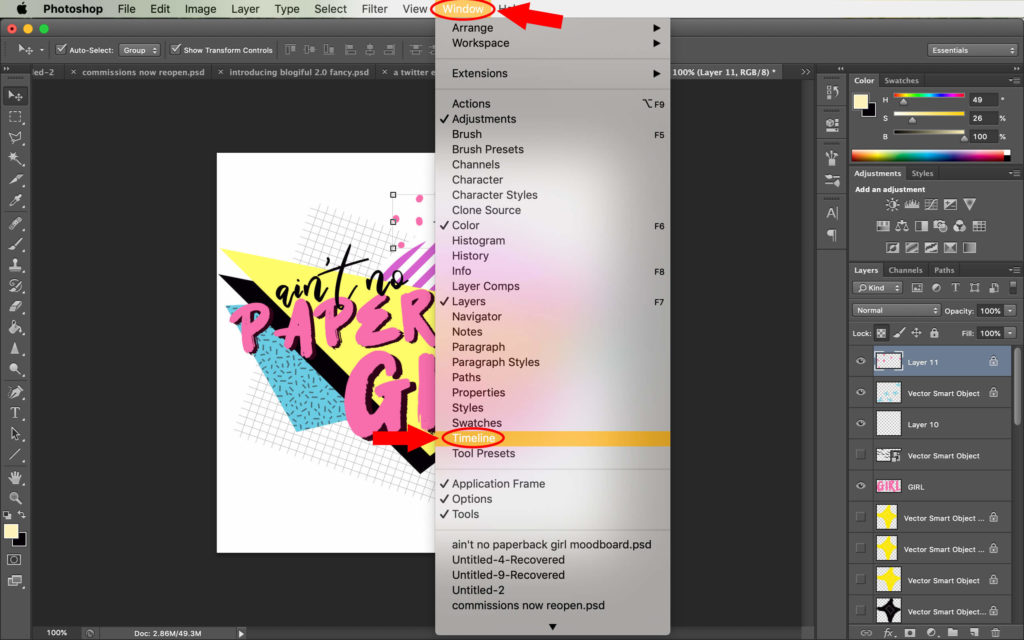
Step Two: Click Window > Timeline
Okay, so I’ve booted up Photoshop and pulled opened the “Ain’t No Paperback Girl” logo I created for my “Behind-The-Scenes Look at How I Create Blog Headers” post.
To start animating, head to the top of the Photoshop menu bar and click on “Window.” Look to see whether or not the “Timeline” box has a check next to it. If it doesn’t, click on it. This will open up an additional workspace at the bottom of your screen.
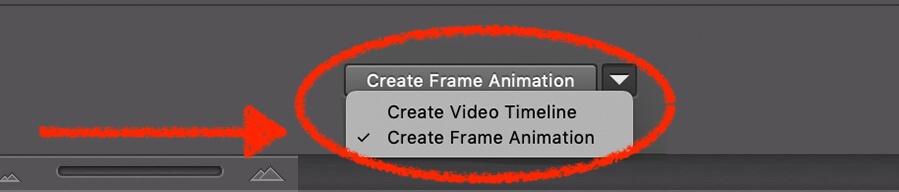
Step Three: Click “Create Frame Animation”
In that new Timeline window, there should be a button that reads, “Create Frame Animation.” If it’s not automatically selected, navigate to the dropdown menu by clicking on the small arrow next to it. Then check the “Create Frame Animation” box to enable the ability to animate objects.
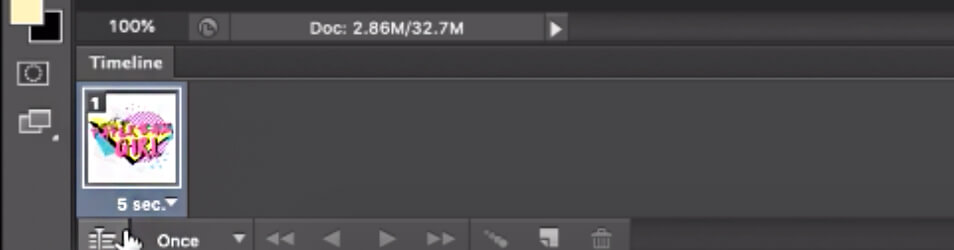
Your Timeline should now look something like this:
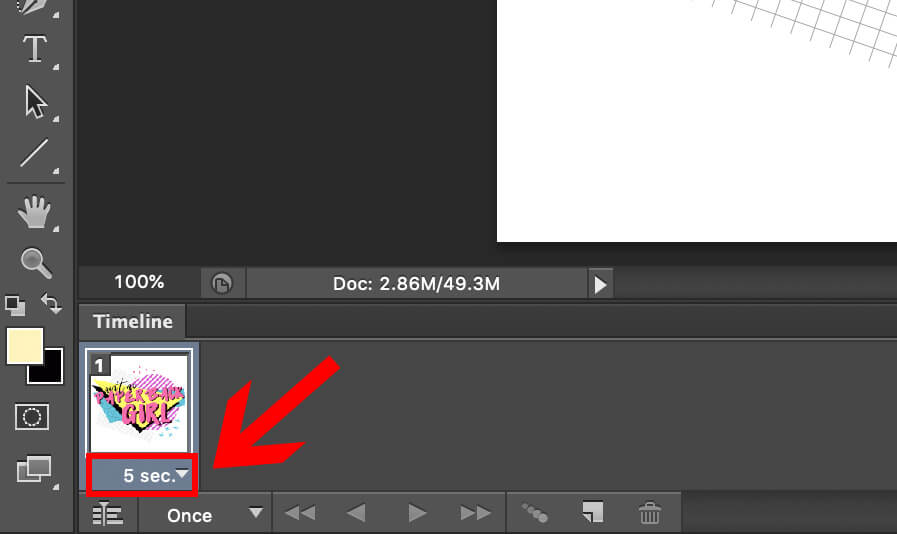
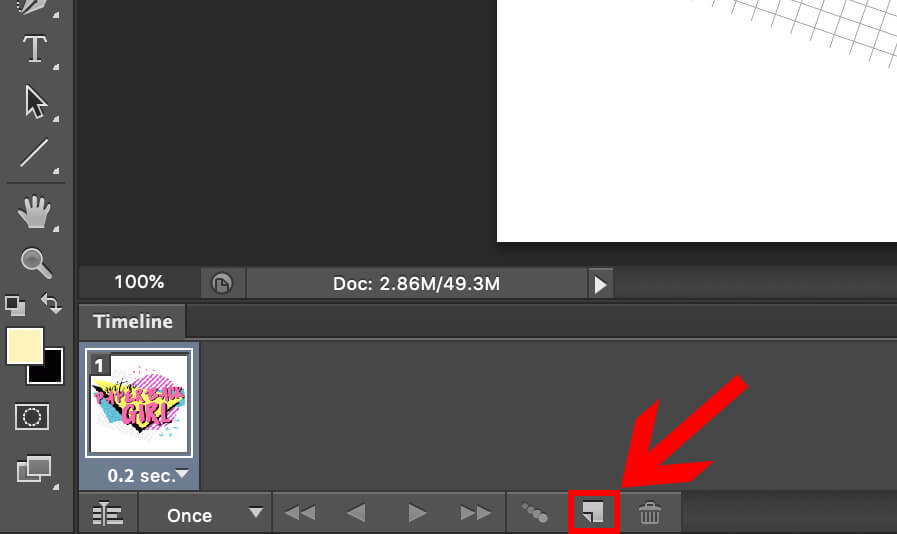
Step Four: Change the Delay Time
Under each frame, there’s a time listed. This is called the “Delay Time” and indicates how long each frame will show before before switching on to the next one. Click on the accompanying dropdown in order to change the length of time each frame will be displayed.
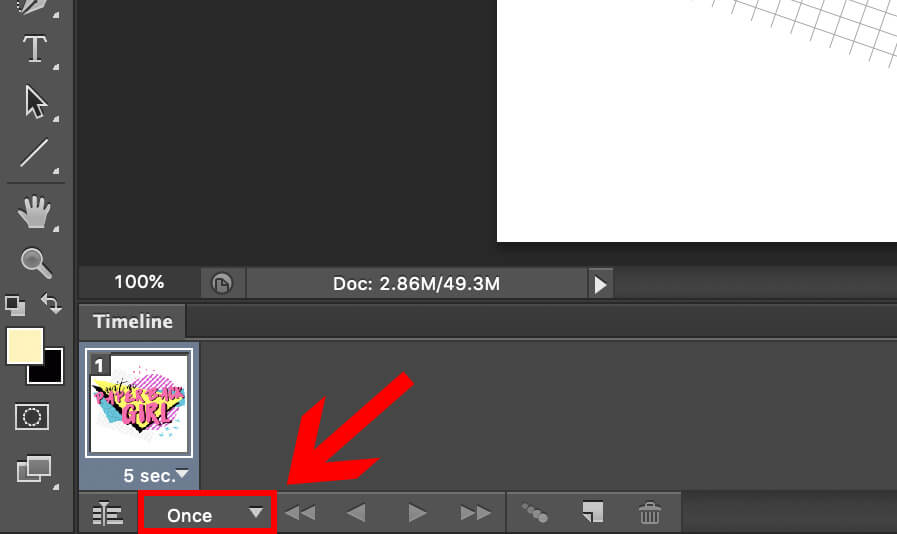
Step Five: Select the Number of Repetitions
At the bottom of the Timeline toolbar, you’ll see the word “Once.” This is the default number of times that your animation will loop. To change this setting, click the arrow to select either “3 Times,” “Forever,” or “Other.” By selecting “Other,” you can specify a custom number of repetitions.
Step Six: Create Your Layers
This step will make more sense if you think of it in the context of a flip book. According to Wikipedia, flip books can be defined as “books filled with a series of pictures that vary gradually from one page to the next, so that when the pages are turned rapidly, the pictures appear to animate.”
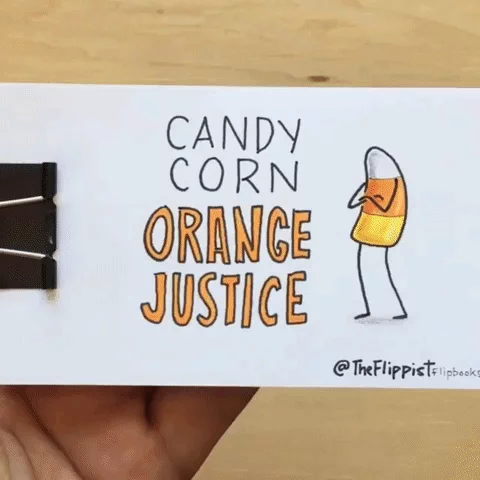
Although we don’t have actual pages in Photoshop, we do have layers. Each layer you create should fulfill the same function as a single page in a flip book. It should have an image on it that varies gradually, so that when all the layers of your Photoshop file are looped through rapidly, your blog header will appear to animate.
Step Seven: Create Your Frames
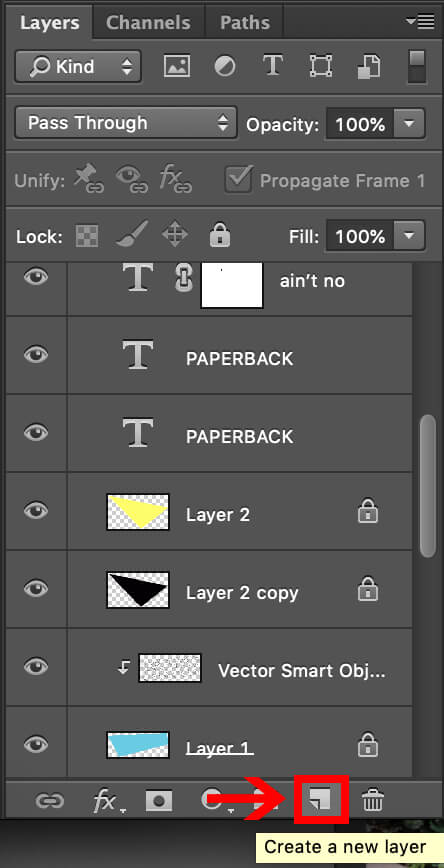
Create one new frame to correspond with each of the layers you made in Step Six. For example, if you have three layers you want to animate, you should have three frames in your Timeline. You can create a new frame by clicking on the “Duplicate Frame Button,” which looks like a sheet of paper with a folded corner.
Step Eight: Hide Unnecessary Layers
Make sure that you hide all unnecessary layers for each frame, so that only your desired layer is visible. You can do this by clicking on the little “eye” icon to the left of every layer. This will toggle visibility on and off.
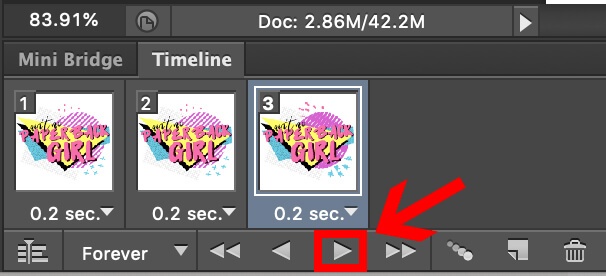
To preview your animation, simply click the little play button in the Timeline toolbar.
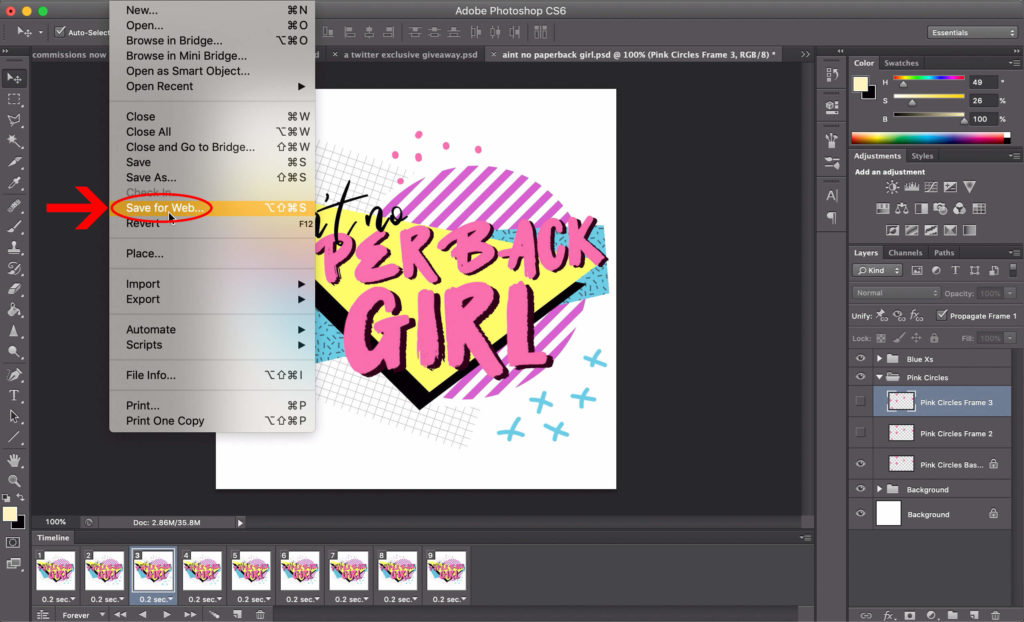
Step Nine: Click “File” then “Save For Web”
Pat yourself on the back, because you’ve successfully animated your blog header (and you didn’t even have make a sacrifice to the gods under a full blood moon! I call this a win-win). Now all that’s left to do is to save and export it. If you’re using CS6 like me, go to “File” then click “Save for Web.” If you’re using Photoshop CC or later, then go to File > Export > Save for Web (Legacy).
Voilà! You’ve Created a Simple Animated Blog Header!

PRO TIP: Check out this handy tutorial explaining how to set a GIF as a blog header in WordPress. Please note that if you crop the GIF at any point during the upload process, the animation will stop working.
Check Out My Video Tutorial

What did you think of this tutorial? Did you find it useful?
Drop the links to all your newly animated blog headers in the comments!
6 Comments
Write Your Waffling


Trending Posts


This is so interesting to see how the animated blog headers are made. I love finding out more information about how things are made and it is so creative to creates things that move, like you said. It would draw people in!!
Ah… you are so talented!!
Thank you for sharing!! I really love this series (sorry I’m been late at getting to all the posts)!! <3
This was so cool! I didn’t realize Photoshop let you animate in this way, I definitely need to check this out!
[…] @ Novels and Waffles│HOW TO CREATE AN ANIMATED BLOG HEADER│3 THINGS YOU NEED IN YOUR BLOG SIDEBAR (AND 3 THINGS YOU DON’T)│A BEHIND-THE-SCENES LOOK AT […]
This is so helpful! Thank you so much for sharing :D
[…] │Kat @ Novels and Waffles│HOW TO CREATE AN ANIMATED BLOG HEADER│ […]
Very helpful! Thanks a lot for sharing